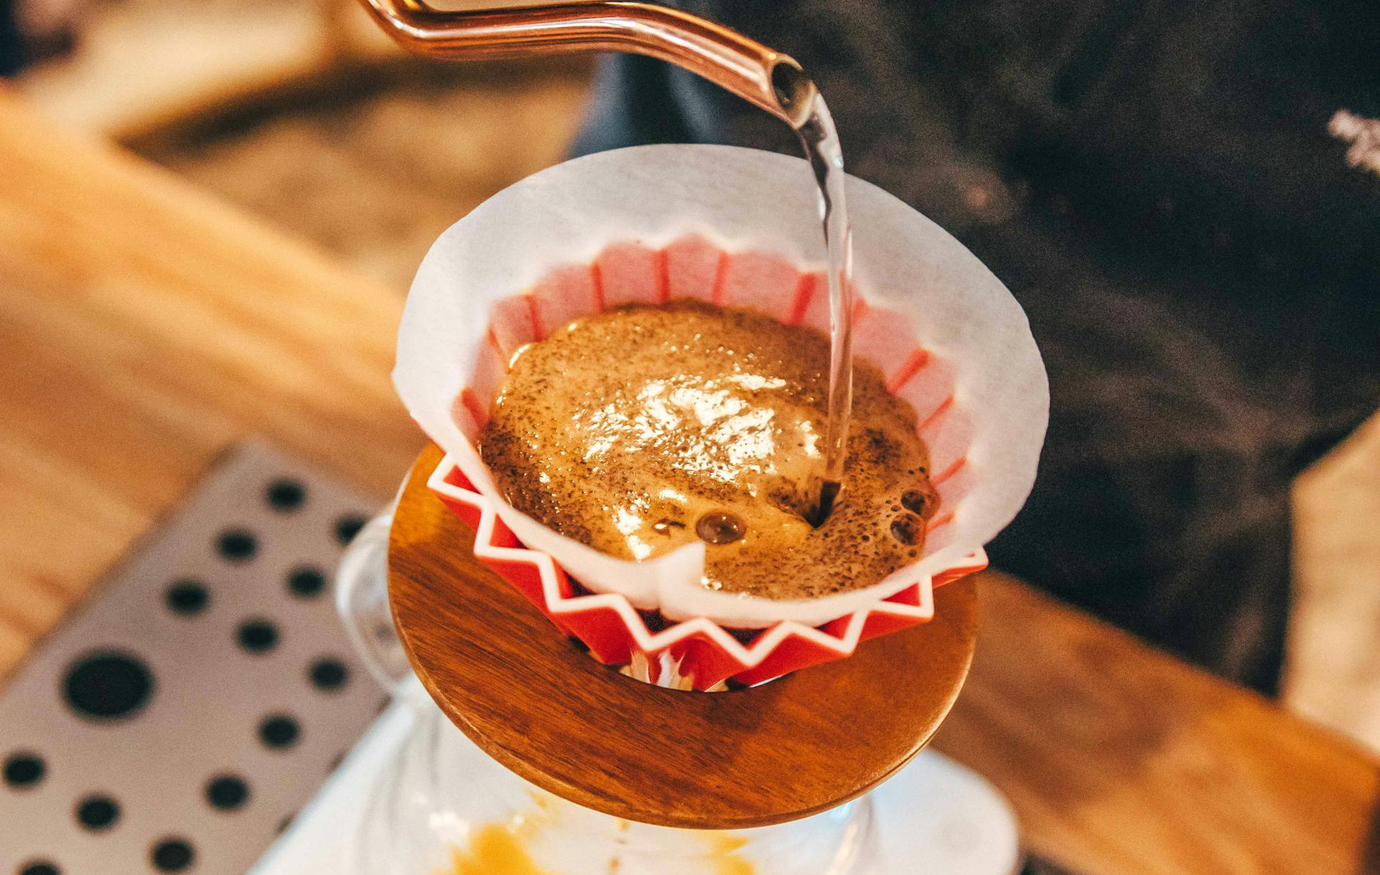
Coffee & Gravity for a beautiful brew. Likely for the aerodynamic afficionados.
1) Prepare your water and coffee
Bring 200g of water to a boil. Weigh out 15–18 grams of coffee. Grind to a texture slightly finer than sea salt.
2) Prepare the filter
Insert a paper filter into the AeroPress's detachable plastic cap.
Warm up your filter and cap by pouring some hot water over them. This serves two purposes: it helps the filter stick to the cap and preheats your brewing vessel. Be cautious during this process, as the cap is small and the water is very hot. Grasp the cap by its "ears" and pour the water gently, allowing the filter to soak it up slowly.
Warm up your filter and cap by pouring some hot water over them. This serves two purposes: it helps the filter stick to the cap and preheats your brewing vessel. Be cautious during this process, as the cap is small and the water is very hot. Grasp the cap by its "ears" and pour the water gently, allowing the filter to soak it up slowly.
3) Assemble your AeroPress
Ensure that the entire assembly is completely dry, as any leftover moisture can weaken the device's seal.
4) Place it on your scale with the flared end up, then 0 the weight
The numbers should be displayed upside-down. While you can attach the black filter cap and position it right side-up, this often leads to leaks and complicates precise brewing.
5) Add your ground coffee
Be careful not to spill any grounds into the ring-shaped gutter at the top of the AeroPress.
6) Saturate the coffee grounds
Begin timing. Use double the amount of water as you have coffee grounds (for example, 30 grams of water for 15 grams of coffee). The water should be approximately 93 degrees Celsius. Ensure the coffee grounds are evenly saturated, lightly tamping them down with a paddle or butter knife if needed, and allow it to steep for 30 seconds.
7) Fill the chamber and stir
Use the remainder of the hot water to fill the chamber. After 1 minute has elapsed, stir grounds 10 times to agitate.
8) Fasten the clip and flip
Fasten the cap, ensuring it locks into the grooves tightly. Flip the whole assembly over quickly with control.
9) Press! Apply Pressure
Place it over your brewing vessel and start exerting downward pressure. You'll encounter roughly 13-15 kilograms of resistance at this point. If the push feels too effortless, your coffee grind is probably too coarse; if it’s very difficult to push, your grind may be too fine. The coffee is completely brewed when you hear a hissing sound, indicating that there is no more water left to push through the device.
10) Discard and enjoy your space-age brew
After removing the cap, you can easily eject the filter and the compacted puck of grounds by pushing the inner section of the AeroPress down one final inch.


